

If you’ve made the smart move of investing in rental property, you’re well on your way to collecting a steady income stream. But before you can begin to cash rent checks — and to find the perfect tenant — there is a sequence of boxes you’ll need to check.
Whether you’re an inaugural or seasoned landlord, use the following steps for a seamless and successful renting experience.
Did you know? The average landlords owns/manages 3 rental units1
Contents
- Landlord/Renting Statistics
- Should I Hire a Property Manager?
- Step 1: Pre-Listing Prep
- Step 2: Take Photos of the Residence
- Step 3: List Your Home/Apartment
- Step 4: Show the Space
- Step 5: Sort Through Qualified Applicants
- Step 6: Screen Selected Applicants
- Step 7: Sign a Lease and Collect Deposit
- How to Be a Great Landlord
- Explainer Video
- Sources
Landlord/Renting Statistics
- Percent of an average landlord’s annual income from rental properties: 31%2
- Average number of applicants screened per rental property: 22
- Monthly median rent for an unfurnished apartment: $1,5883
- Percent of renters living in single-family homes: 42%4
First, Should I Hire a Property Manager?
Property managers are sought out to take on management and oversight responsibilities that the owner would otherwise handle themselves. Most owners that live far from their rental or have limited availability usually choose to hire a property manager. Those that rent out the other unit of their duplex or live close to one or a few rentals may choose to manage all interactions and maintenance themselves. A few of a property manager’s common duties are:
- rent collection and disbursement to owner
- filling vacancies
- constant availability for tenant calls and emergencies
- maintenance contracting and oversight
- generating reports
- paying utilities
While there are a set of standards for property managers, manager-owner relationships are crafted to suit individual conditions. Keep in mind that if you decide to hire a property manager, you can expect a monthly management fee that amounts to approximately 10% of the gross rental income.
Step 1: Pre-Listing Prep
Before you list your unit, it should be in turn-key condition. If a previous tenant left the space dirty, it’s best to hire a professional cleaner, the cost of which may be able to be deducted from the former tenant’s security deposit. Here is a general list to follow:
- Fix/remediate all safety and health hazards, such as electrical sockets that don’t work, mold, pests, rodents, etc.
- Make sure the space is thoroughly cleaned
- Ensure that all windows and doors open and close without issue
- Fill/paint holes in walls
- Replace unworking light bulbs
Step 2: Take Photos

Most tenants will skip over listings without photos, but showcasing high-quality listing photos helps to fill vacancies much faster. Landlords can choose to hire a professional photographer to take striking photos of the rental space, but some tech-proficient owners may be able to handle listing photos themselves — even if you’re only using a smartphone.
Tips for taking rent-worthy listing photos with a camera or smartphone:
- Light is your friend — turn on all indoor lights
- Let natural light in, but be sure that the sun is not directly behind windows you’re aiming toward
- Shoot from doorways or corners to give your room depth
- If using a smartphone, try apps like Snapseed or other simple photo editing apps to bring out the best in each room
Step 3: List Your Home or Apartment
An exceptional listing is the best way to get a tenant in the door. But listing a home or apartment is not as simple as slapping down a few photos and a phone number.
Where to List
Where you list should be a selective process. Certain large cities have popular rental websites, like NYC’s streeteasy. But overall, the most popular places to list your apartment are as follows:
While you don’t need to advertise your rental on every single platform, the more you utilize, the more potential to reach a greater number of tenants. If your rental is located in a more rural area, you may want to try more traditional methods of listing, such as putting up a sign with your phone number and listing in the local paper.
What to Include
In your listing copy, it’s important to describe the space so that prospective tenants get a good feel for what it would be like to live in the unit. Give a brief and honest description of each area (i.e., don’t describe a room as spacious when it’s really 8 x 8) as well as any amenities offered, the rent amount, the security deposit amount, and whether any utilities are paid. Here, you should also note whether you have any preconditions such as a minimum credit score.
Step 4: Show the Space
Eventually, you’ll have to field calls or emails and schedule showing appointments. You can take a hands-off approach by securing the property with a key and lockbox and leaving applications in the unit, which may allow the viewer more flexibility. However, many landlords still choose to show the unit personally and give out applications upon request.
Step 5: Sort Through Qualified Applications

Once you receive one or more applications, you’ll need to decide to whom you will rent. But choosing a tenant is not as simple as picking a favorite — and in some cases, this could even be illegal.
Federal and state laws place strict guidelines on your selection process. At a bare minimum, all landlords should sweep through the US Fair Housing codes (42 USC Ch. 45: FAIR HOUSING) with a fine-toothed comb. U.S. Code § 3601-3619 and § 3631 prohibits discrimination based upon:
- Race;
- Religion;
- National origin;
- Gender;
- Age;
- Familial status; and
- Physical or mental disability, which includes recovering addicts and alcoholics
The overwhelming majority of cities and states have also outlawed tenancy discrimination based on sexual orientation.
When You Can Be Picky
Anything deemed to be risky in a business sense, such as insufficient income, bad credit, history of evictions, history of property damage, or other faulty business-related conditions are generally ok to factor into the selection process. It’s important to keep personal factors out of decisions, or fair housing laws may come back to haunt you. Be sure to check your local and state laws in case there are additional stipulations that could get landlords into trouble.
Step 6: Screen Selected Applicants
It may come as a surprise that 16% of landlords never run a criminal background check on their tenants5. Even if you think your applicant has a spotless rental record, a tenant background check could present you with a host of objectionable surprises. Run a check every time before signing a lease and you’ll be sure to avoid potential problem tenants throughout the life of your rental.
For a limited background check, use RentPrep.com ($18.95)
For a thorough background check (recommended), try MySmartMove.com ($35)
Step 7: Sign a Lease and Collect a Deposit
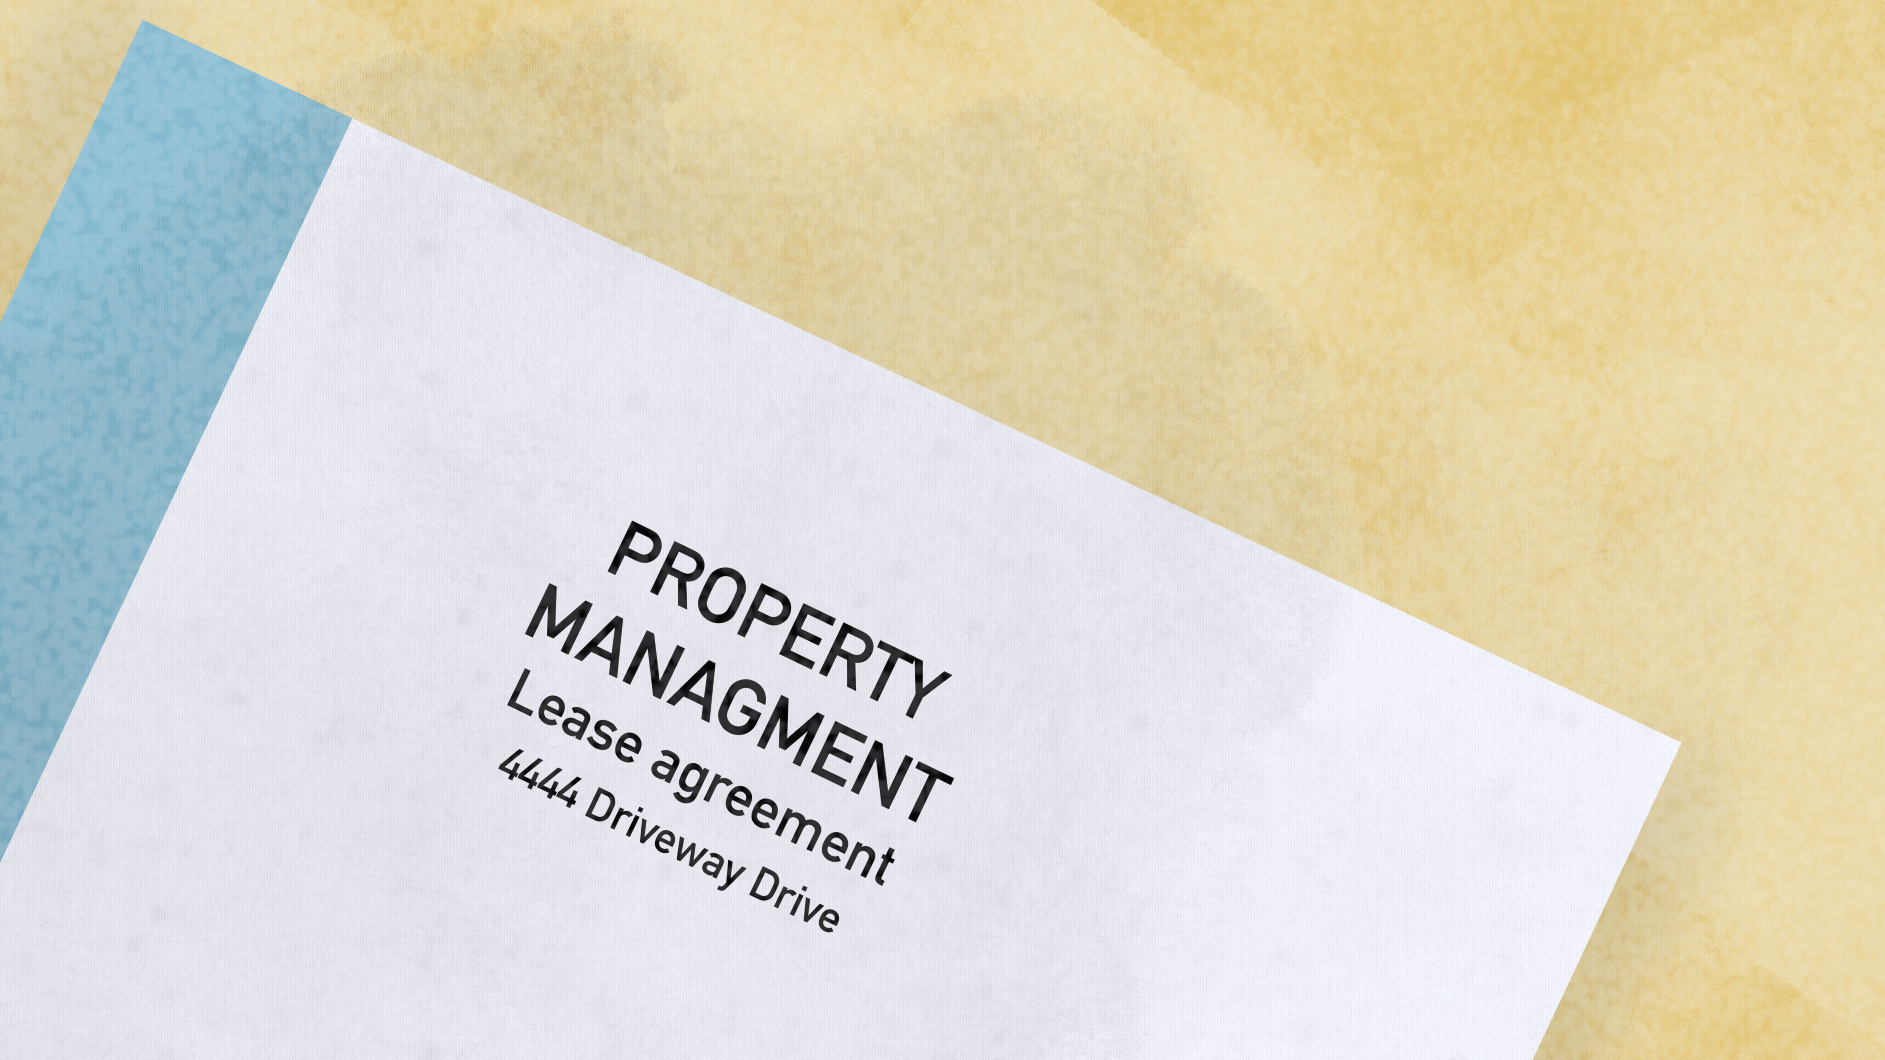
You’re nearly there. The only thing left to do is sign a lease, perform a move-in inspection, and collect the security deposit and first rent payment. (Get a free lease template here.)
Your lease is a legally defensible contract and is where you should lay out every lawful ground rule about the property and tenancy. Here are a few things to think about:
- Do you allow pets in your residence?
- How long do you want the tenant to be locked into a contract? Six months? One year (common)?
- How much are you charging for a security deposit (follow state limits)?
- Will you allow subletting?
- How much will you charge as a penalty for late rent?
These are small parts of an exhaustive lease. After accepting a tenant with an informal notice or acceptance letter, it’s standard to require tenants to pay the deposit plus first rent payment with a money order — not by typical check. This is safer for the landlord and is essentially cash in your hand. You won’t have to worry about a check bouncing (especially since this one bundles the rent payment and the security deposit).
Move-in Checklists
A move-in/move-out checklist allows landlords and tenants to sweep through the property and document any damage and wear when the lease begins. This can make security deposit returns or deductions upon move-out a little safer and more formalized as all prior defects have been recorded, and the tenant would be responsible for new ones.
The following states require move-in/move-out checklists:
- Arizona
- Georgia
- Hawaii
- Kansas
- Maryland
- Massachusetts
- Michigan
- Montana
- Nevada
- New Hampshire
- North Dakota
- Utah
- Virginia
- Washington
- Wisconsin
How to Be a Great Landlord
If you have great tenants, you’ll want to be an equally great landlord. Plus, being a good landlord may make your tenants want to stay planted for a long time.
Remember to respond to repairs and maintenance requests in a timely manner. Follow your county and state renting ordinances, and always communicate with a tenant before entering the property (rules vary from state to state on how much notice is required to enter the property — the standard is 48 hours).
Lastly, if you decide that you want to raise the rent upon renewal of the lease, check state and county laws to see if there are any rent increase limitations. If there are no limits, it’s recommended to not overdo it, as a large increase could provoke a move and might cost you more in the long run.
Video: Guide to Renting
Sources
- https://www.mysmartmove.com/SmartMove/blog/6-rental-statistics-landlords-need-know.page
- https://www.mysmartmove.com/SmartMove/blog/26-rental-stats-landlords-need-know-infographic.page
- https://www.statista.com/topics/4465/rental-market-in-the-us/
- https://www.statista.com/statistics/743422/share-of-residents-who-are-renting-usa-by-structure-type/
- https://porch.com/resource/renters-and-landlords-study